Need help in using our WordPress theme?
Before downloading WooCommerce plugin and installing it please make sure your hosting environment meet the following requirements:
You should also check WordPress requirements.
Warning
PHP 5.2.4+ and MySQL 5.0+ reached End Of Life and is no longer maintained and as such may expose your site to security vulnerabilities.
If you have an existing site and want to install WooCommerce, using the WordPress Admin is the most straightforward option as it handles everything for you.
To install WooCommerce:
To install WooCommerce using the WordPress Admin follow the steps below:
WooCommerce Wizard
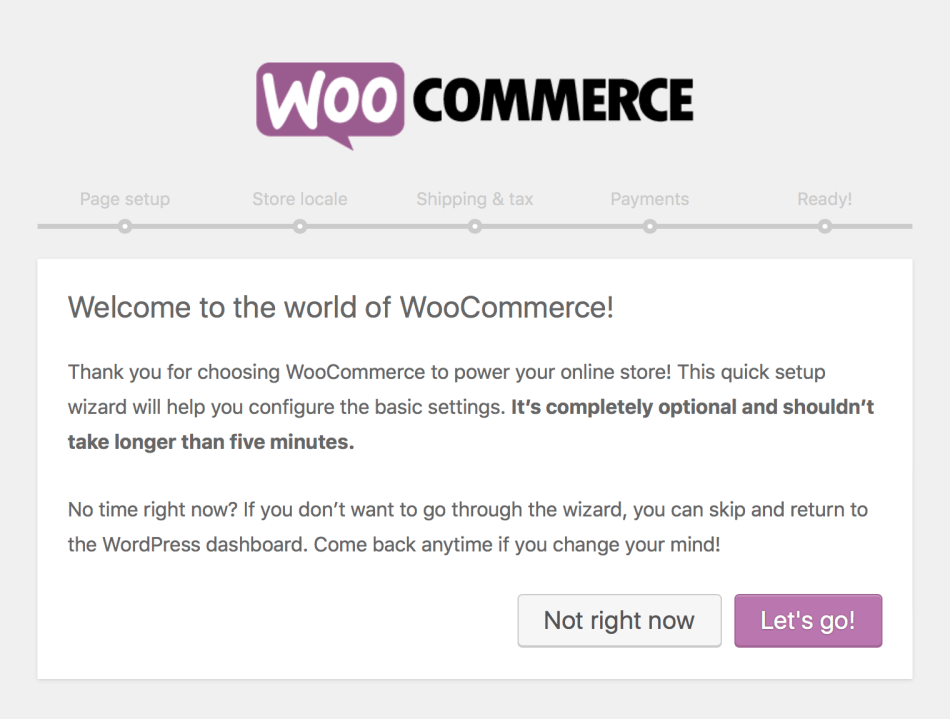
When the plugin is activated for the first time, the WooCommerce Setup Wizard will helps you set up your shop.
Select Let’s go! to get started. Or select Not Right Now to manually set up your WooCommerce shop.
All the information how to configure your WooCommerce shop you will find in Documentation for WooCommerce.
Following the steps below you will be able to learn more about WooCommerce products and how to create them:
Step 1 – add products
Step 2 – setup your products
Step 3 – sell what you’ve got
Step 4 – setup shipping options
Step 5 – manage your orders
WooCommerce plugin come with several options for sorting the products on the Shop page. By default there are 6 options that can be access via WooCommerce > Settings > Products > Display

The Default Sorting (custom + name) option enables you to use a custom order for products.
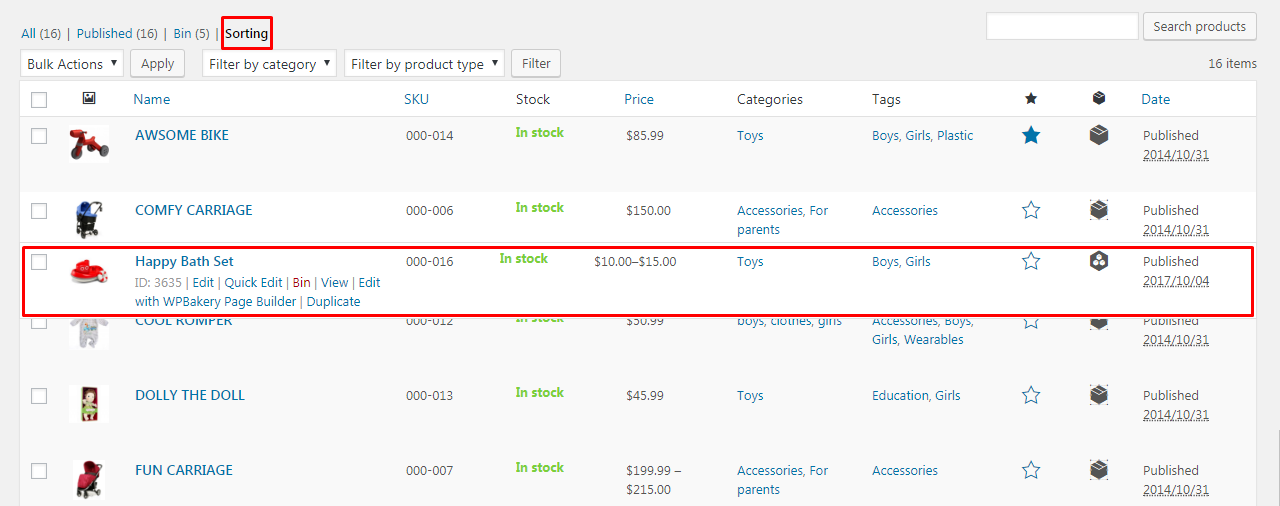
To create custom ordering you can go to Products > Products and click on the ‘Sorting’ tab. The resulting page will show list of created products. The next step will be to change the order by hover over the products, drag it to desired location and drop it there. The resulting page will display a list of your products. To change the product order, just hover over the product, drag it to your desired location and drop it.
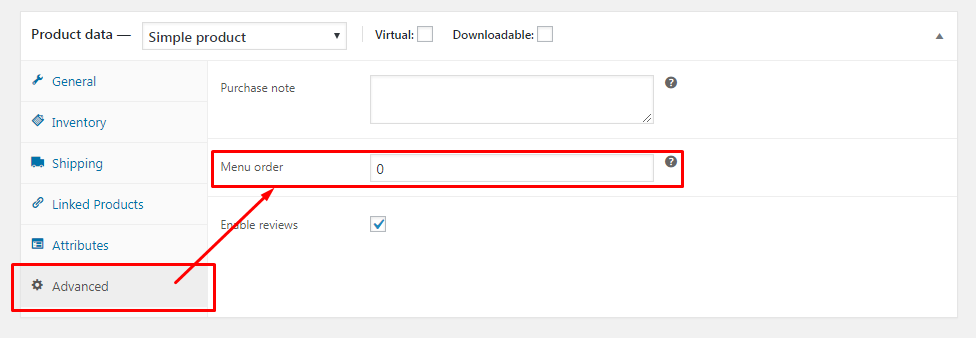
The second way to set the order of the products is to go to Products > Products hover over the product order you want to change and click Edit. In product editing screen, go to Product Data section. Click the Advanced tab where you will find option Menu Order. You can set the position of this product in this field. Products with menu order 0 will be displayed first, then 1, 2, 3, etc.
In Puer WP theme beside Shortcodes included with WooCommerce to show WooCommerce product can be also used theme custom shortcode:
Back-end
Front-end
Recreating this section
The other way to present content of the shop page on other sites is used some of the Widgets included with WooCommerce
Editing WooCommerce Products Categories Images
As in blog post Woocommerce products have option to add, delete and edit product categories via plugin options. To change/add product category image, follow steps below:
Step 1 - In your WordPress admin panel go to Products > Categories menu and open the required category.
Step 2 - Next to thumbnail option Upload/Add image button and choose image from Media Library or add image from your computer and click Use Image button.
Step 3 - Now you can update the category to save the changes.
Editing WooCommerce Products Colors
Colors of the products are set with help of Variation Swatches for WooCommerce plugin. To configure products attributes follow options below:
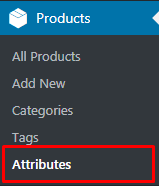
Step 1 - Log in to your WordPress dashboard, navigate to the Products menu and click Attributes
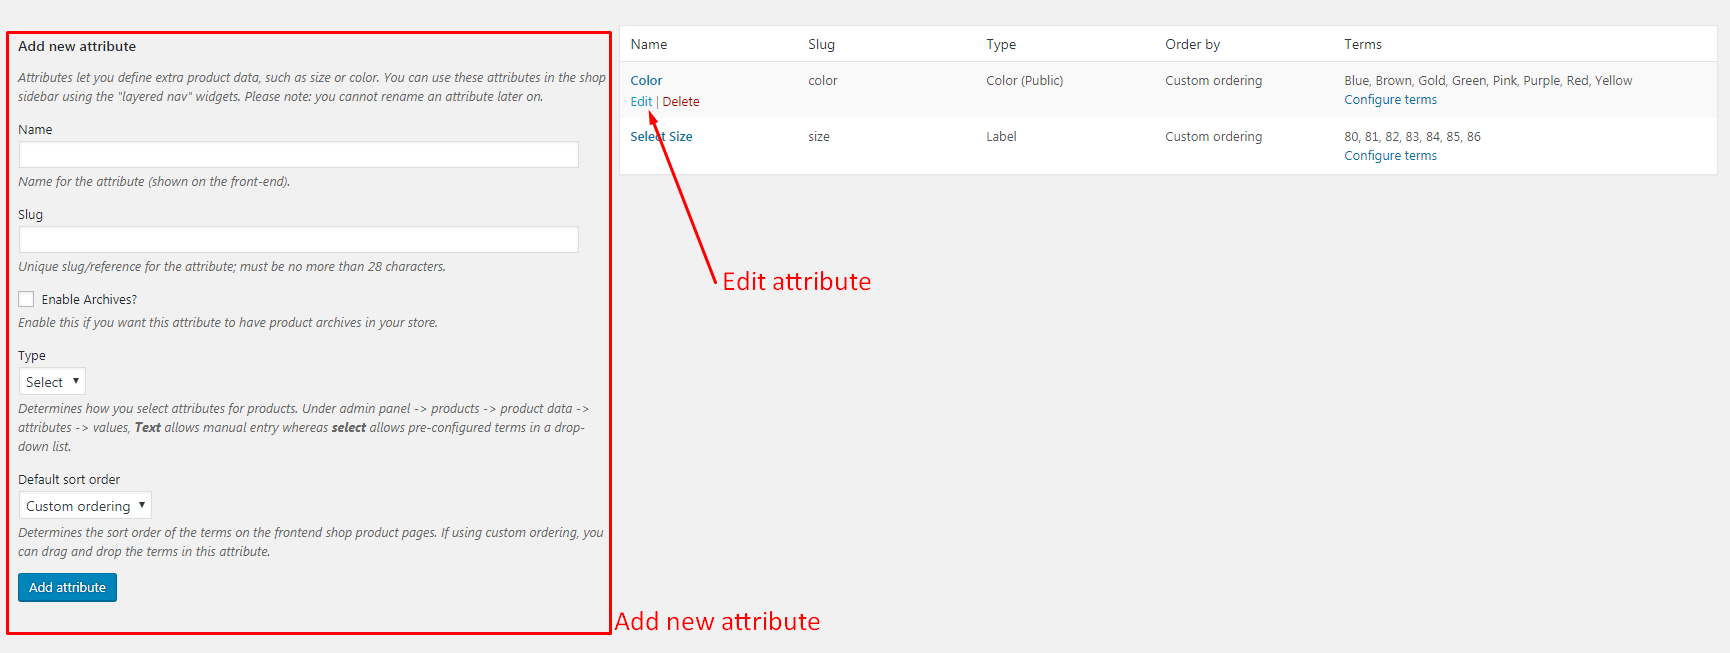
Step 2 - Go to attribute name to edit an exists attribute or in the Add New Attribute form you will see the default Type selector
Step 3 - Click to that Type selector to change attribute’s type. Besides default options Select and Text, there are more 3 options Color, Image, Label to choose.
Step 4 - Select the suitable type for your attribute and click Save Change/Add attribute
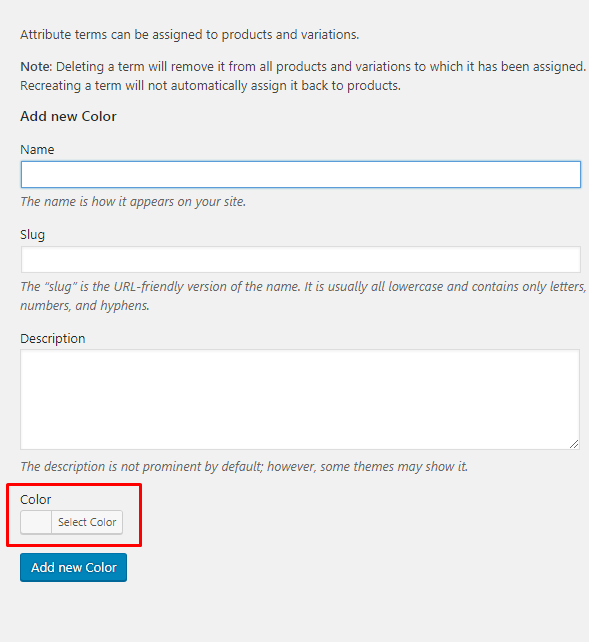
Step 5 - Go back to manage attributes screen. Click the Configure terms link on the right side of attribute to start editing terms.
Step 6 - Start adding new terms or editing exists terms. There is will be a new option at the end of form that let you choose the color, upload image or type the label for those terms.
Give your users detailed information of your products with fully customizable Size Guides. Create size charts for every product or product categories using Size Guide Plugin by createIT
Learn more: