Need help in using our WordPress theme?

Menu logo can be changed via customize option. To access Site Indentity go to Appearance > Customize > Site Identity where you will be able to change/remove logo image.
To edit logo for the fixed version go to Appearance > Customize > Header & Navigation > Menu Navigation where you will be able to change/remove logo image.
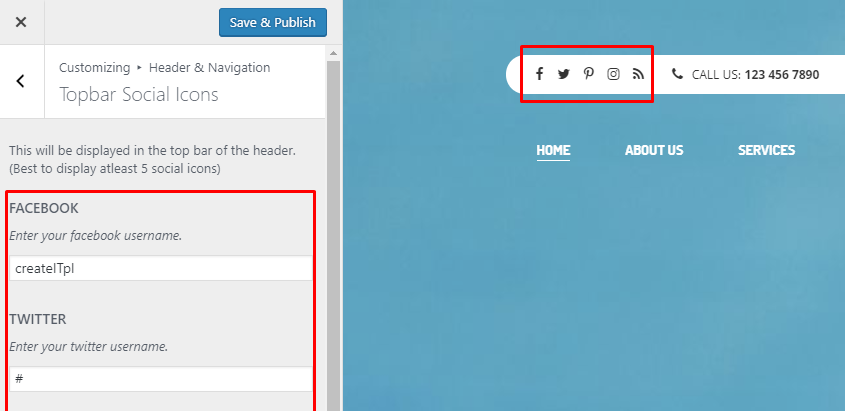
Socials visible in the header page can be set by using Topbar Social Icons option. You can access it via Appearance > Customize > Header & Navigation > Topbar Socials Icons where links to socials pages can be added.
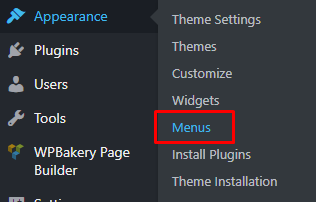
Step 1 - Navigate to Appearance > Menus
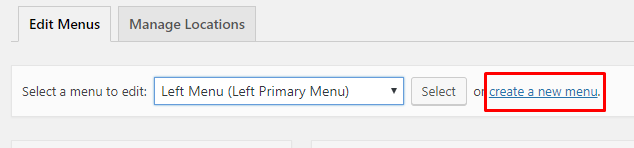
Step 2 - Click on create a new menu, enter menu Name and click on Create Menu button
Step 3 - From the right side choose pages that you want to add to your menu and click on Add to Menu. Once menu items are added, you can reorder or nest them via drag and drop tool. Remember to click Save Menu when you finish to keep your changes saved.

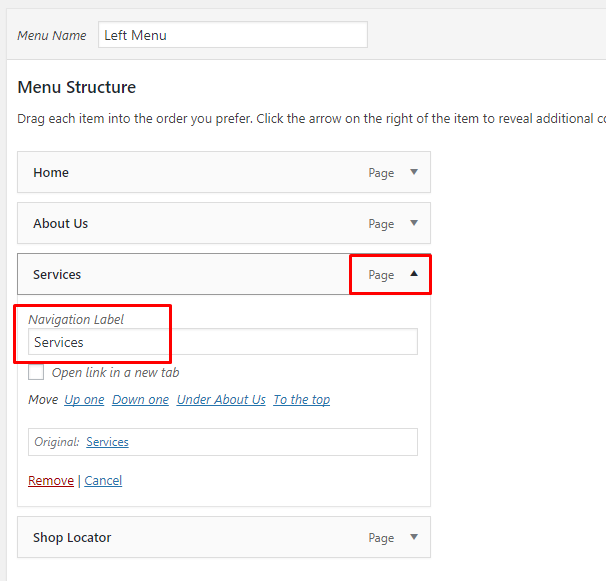
Step 4 - You can easily rename every menu item in item details.
Step 5 - Optionally you can add to menu other items, like Links or Categories.
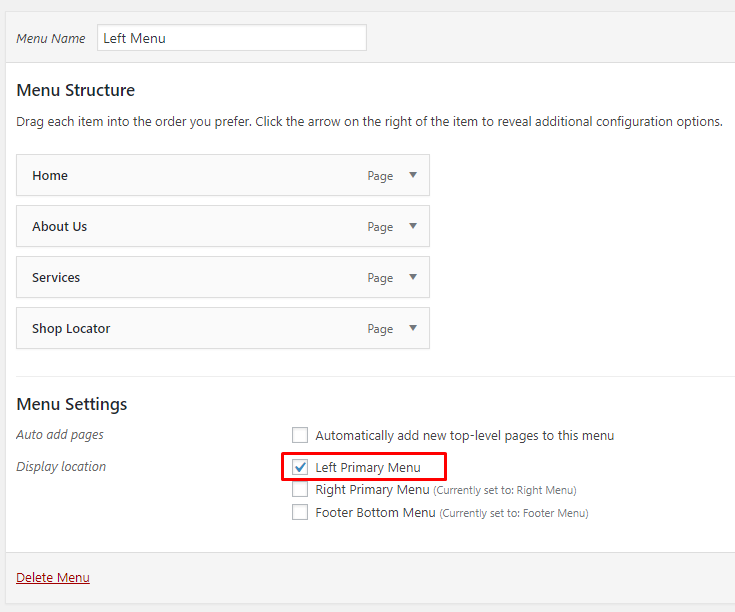
Step 6 - Check your menu as Left Primary Menu to set it up as one of 3 menus supported by the theme (Left Primary Menu, Right Primry Menu and Footer Bottom Menu). Select which menu appears in each location.
Step 7 - Always click Save Menu after providing any changes.